
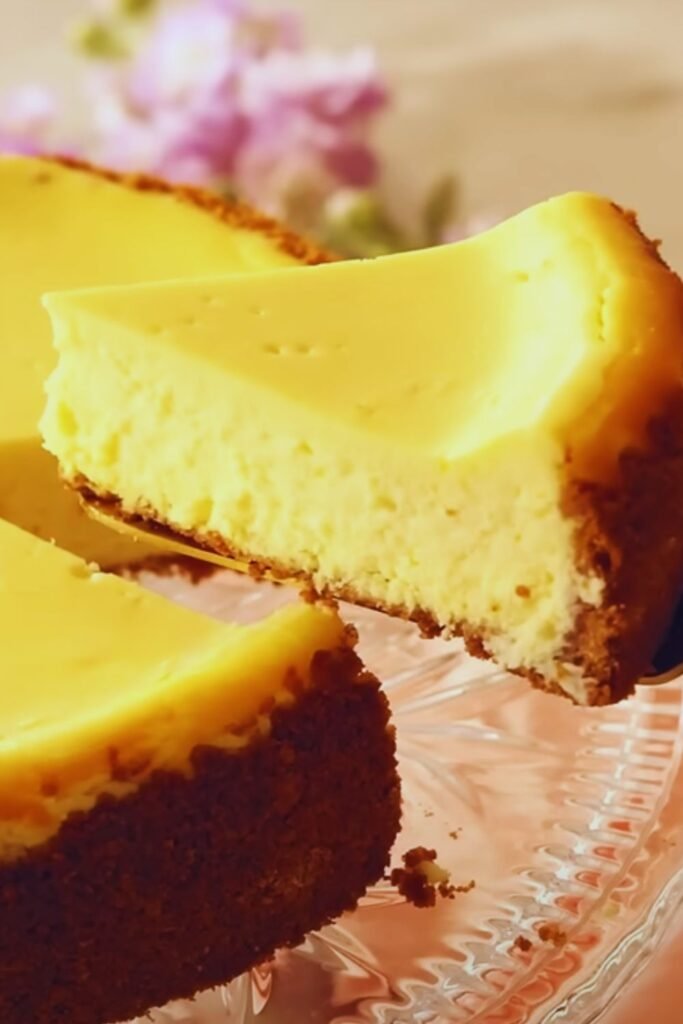
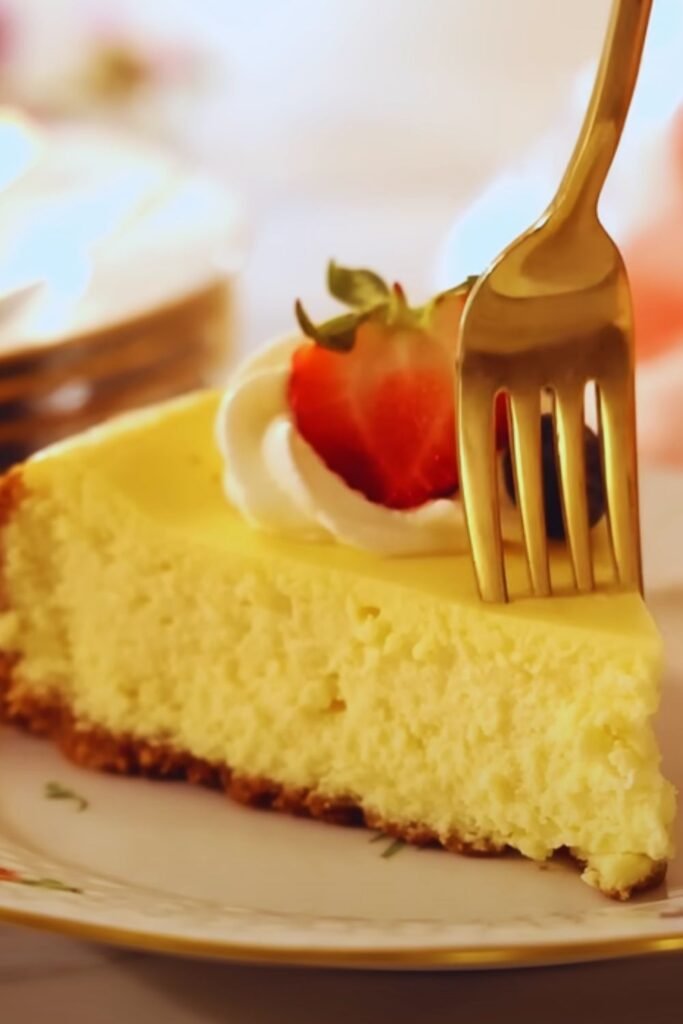
There’s something magical about the first bite of a fresh strawberry pie. The way the sweet-tart berries burst with juice, nestled in a buttery crust, topped with a cloud of whipped cream… it’s pure heaven on a plate. I’ve been perfecting this recipe for years, and today I’m excited to share my ultimate version with you.
This isn’t just any strawberry pie. Unlike many recipes that call for cooking the berries or using gelatin, this method showcases fresh strawberries in all their glory. The result? A dessert that captures the essence of summer, no matter what time of year you make it.
The Magic of Fresh Strawberries
Before we dive into the recipe, let’s talk about what makes strawberries so special. These ruby-red gems aren’t just delicious—they’re nutritional powerhouses too.
Strawberries contain:
- Vitamin C (more than oranges!)
- Fiber
- Antioxidants
- Folate
- Potassium
I remember my grandmother telling me that strawberries were “nature’s candy,” and she wasn’t wrong. Their natural sweetness has been delighting humans for centuries, with evidence of wild strawberries being consumed since Roman times.
When selecting strawberries for your pie, look for berries that are:
- Fully red with no white shoulders
- Fragrant (they should smell like strawberries!)
- Firm but not hard
- Free from moisture or mold
- Bright with fresh-looking green caps
The Perfect Crust: Foundation of a Great Pie
I firmly believe that a pie is only as good as its crust. For years, I struggled to create that perfect balance of flaky, buttery, and sturdy—until I discovered the secret: keeping everything COLD.

Here’s my foolproof pie crust recipe:
Ingredients:
- 2½ cups all-purpose flour
- 1 tablespoon granulated sugar
- 1 teaspoon salt
- 1 cup (2 sticks) unsalted butter, VERY cold and cubed
- ¼ to ½ cup ice-cold water
- 1 tablespoon apple cider vinegar (my secret ingredient!)
The Science Behind a Flaky Crust:
A perfect pie crust is all about the fat distribution. Those little pockets of cold butter create steam during baking, which pushes the dough layers apart, creating that coveted flakiness. This is why temperature is crucial!
The addition of apple cider vinegar might seem strange, but it serves two important functions:
- It inhibits gluten development, ensuring a tender crust
- It adds a subtle tang that complements the sweetness of the filling
Let me walk you through the process:
- Combine the flour, sugar, and salt in a large bowl
- Add the cold, cubed butter
- Using a pastry cutter or your fingertips, work quickly to incorporate the butter until the mixture resembles coarse crumbs with some pea-sized pieces remaining
- Mix the ice water and vinegar together
- Drizzle the liquid over the flour mixture, a little at a time, tossing with a fork until the dough begins to form large clumps
- Press the dough together—it should hold together when squeezed but not feel sticky
- Divide the dough in half, form into discs, wrap in plastic, and refrigerate for at least 1 hour (or up to 3 days)
The Fresh Strawberry Filling: Star of the Show
Now for the star of our show: the filling! Unlike cooked strawberry pies, this version maintains the integrity and brightness of fresh berries. The result is a pie that tastes like summer sunshine.
Ingredients:
- 2 pounds fresh strawberries (about 6-7 cups), hulled
- ¾ cup granulated sugar
- 3 tablespoons cornstarch
- 1 packet (3 ounces) strawberry gelatin (optional—I’ll explain why below)
- ¼ cup water
- 2 tablespoons fresh lemon juice
- Pinch of salt
The Fresh vs. Glazed Debate:
I’ve tested dozens of strawberry pie recipes over the years, and I’ve found there are generally two camps:
- The “Fresh Only” approach where berries are placed in a pre-baked shell with minimal treatment
- The “Glazed” method where some berries are cooked down to create a binding sauce
After countless experiments, I’ve developed a hybrid approach that gives you the best of both worlds:
- ⅔ of the berries remain completely fresh and intact
- ⅓ are used to create a light glaze that binds everything together without being overly sweet or artificial
Here’s my method:
- Select the most perfect berries (about ⅔ of your total) and set aside
- Take the remaining berries (especially any that are less perfect) and slice them
- In a saucepan, combine the sliced berries, sugar, cornstarch, gelatin (if using), water, lemon juice, and salt
- Cook over medium heat, stirring constantly until the mixture comes to a boil and thickens (about 3-5 minutes)
- Remove from heat and allow to cool completely (about 30 minutes)
- Arrange the whole berries in the pre-baked pie shell
- Pour the cooled glaze over the berries, ensuring they’re all coated
- Refrigerate for at least 3 hours until set
A note on gelatin: While traditional recipes often call for strawberry gelatin (like Jell-O), I find it can make the pie taste artificial. I include it as an option, but when strawberries are at their peak, I prefer to use a bit more cornstarch instead, allowing the natural flavor to shine.
Assembly and Presentation: Making It Picture-Perfect
There’s a saying that we eat with our eyes first, and nowhere is this more true than with a stunning strawberry pie. The vibrant red of the berries against the golden crust creates a dessert that’s as beautiful as it is delicious.
The key to a professional-looking pie is in the arrangement of the berries. Here’s how I do it:
- Start by placing berries stem-side down in concentric circles, beginning from the outside edge
- Choose similarly sized berries for each ring
- Fill in any gaps with smaller berries
- Pour the glaze slowly from the center, allowing it to flow between the berries
- Gently shake the pie to help the glaze settle evenly
Serving Suggestions: Elevating Your Pie Experience
While a slice of fresh strawberry pie is divine on its own, there are several ways to take it to the next level:
Classic Accompaniments:
- Freshly whipped cream (never from a can!)
- Vanilla ice cream
- Crème fraîche
Creative Twists:
- Basil-infused whipped cream
- A drizzle of aged balsamic reduction
- A sprinkle of black pepper (trust me on this one!)
- Fresh mint leaves
My favorite way to serve this pie is slightly chilled (about 30 minutes out of the refrigerator) with a generous dollop of hand-whipped cream that’s been barely sweetened with a touch of powdered sugar and vanilla extract. The contrast of the cold, fresh berries with the rich cream is simply unbeatable.
Seasonal Variations: Making the Most of What’s Available
While this pie is at its absolute best during strawberry season (typically late spring to early summer), I understand the craving for strawberry pie doesn’t always align with Mother Nature’s schedule. Here’s how to adapt this recipe year-round:
Peak Season (Local Berries):
When local strawberries are in season, use less sugar in your glaze—these berries will be naturally sweeter and more flavorful.
Off-Season:
- Look for strawberries from Florida or California
- Consider using frozen strawberries for the glaze portion (never for the whole berries)
- Add an extra tablespoon of lemon juice to brighten the flavor
- Consider adding a splash of good quality strawberry extract to enhance the flavor
Berry Substitutions and Combinations:
While we’re focusing on strawberry pie here, the technique works beautifully with:
- Mixed berries (strawberries, blueberries, raspberries, blackberries)
- Strawberry-rhubarb (add 2 cups of diced rhubarb to the glaze portion)
- Strawberry-peach (in late summer when both are in season)
Advanced Tips for Strawberry Pie Perfection
After years of making this pie, I’ve collected some hard-earned wisdom that makes the difference between a good pie and a great one:
Temperature Management:
- Always start with a completely cooled pre-baked crust
- Make sure your glaze is room temperature before pouring (warm glaze will soften the crust)
- Chill the pie for the full recommended time (at least 3 hours, preferably 4)
Preventing a Soggy Bottom:
- Brush the inside of your pre-baked crust with a thin layer of melted white chocolate and allow it to set before adding berries
- Place the pie plate on a pre-heated baking sheet when blind baking the crust
- Consider using a glass pie plate so you can check the bottom
Storage Tips:
- Fresh strawberry pie is best consumed within 24 hours
- If you need to make it ahead, consider assembling it the morning of the day you plan to serve it
- Store leftover pie covered in the refrigerator for up to 2 days (the texture will change but it will still be delicious)
Nutritional Information and Dietary Adaptations
For those watching their nutrition or dealing with dietary restrictions, here’s a breakdown of the standard recipe and some adaptations:
Nutritional Information (Per Slice, 1/8 of Pie):
| Component | Amount |
|---|---|
| Calories | 320 |
| Total Fat | 16g |
| Saturated Fat | 10g |
| Cholesterol | 40mg |
| Sodium | 220mg |
| Total Carbohydrates | 42g |
| Dietary Fiber | 3g |
| Sugars | 24g |
| Protein | 3g |
Dietary Adaptations:
| Dietary Need | Adaptation |
|---|---|
| Gluten-Free | Replace wheat flour with a 1:1 gluten-free baking mix; add ¼ tsp xanthan gum |
| Vegan | Use plant-based butter; replace gelatin with agar-agar (same amount) |
| Lower Sugar | Reduce sugar to ½ cup; use a stevia/sugar blend for the remaining sweetness |
| Paleo | Use almond flour crust; replace cornstarch with arrowroot powder; use honey instead of sugar |
| Keto | Use almond flour crust; replace sugar with erythritol; use additional strawberry extract |
Troubleshooting Common Issues
Even experienced bakers encounter problems sometimes. Here’s how to address the most common issues with fresh strawberry pie:
Runny Filling:
- Cause: Undercooked glaze or extra juicy berries
- Solution: Cook the glaze until it’s thick and coats the back of a spoon; make sure to let it cool completely before using
Tough Crust:
- Cause: Overworked dough or too little fat
- Solution: Handle the dough minimally; ensure your butter is very cold
Berries Floating in Glaze:
- Cause: Too much liquid in proportion to berries
- Solution: Pack your berries more tightly; use slightly less glaze
Shrinking Crust When Blind Baking:
- Cause: Dough not properly chilled or weighed down
- Solution: Freeze the crust for 15 minutes before baking; use pie weights that cover the entire bottom
A Brief History of Strawberry Pie
I’ve always found that understanding the history of a dish deepens my appreciation for it. Strawberry pie has a surprisingly rich history:
Strawberries have been consumed since ancient Roman times, but they were small wild varieties—nothing like the plump berries we enjoy today. The modern garden strawberry (Fragaria × ananassa) was first bred in France in the 1750s by crossing wild strawberry varieties from North and South America.
Pies themselves date back to ancient times, with the Romans making the first pastry crusts. However, these early crusts were often just containers and not meant to be eaten.
The combination of strawberries and pastry likely emerged in medieval Europe, but the fresh strawberry pie as we know it today is largely an American creation, becoming particularly popular in the 1950s and 1960s when refrigeration became common in households.
In the American South, strawberry pie contests have been a staple of summer festivals for generations, with families guarding their recipe secrets jealously. I’m breaking tradition by sharing mine, but I believe good food is meant to be shared!
Q&A Section: Your Strawberry Pie Questions Answered
Over the years, I’ve received countless questions about making the perfect strawberry pie. Here are answers to the most common ones:
Q: Can I make this pie with frozen strawberries? A: For the glaze portion, yes. For the whole berries that remain fresh, you must use fresh strawberries. Frozen berries will release too much liquid as they thaw and make your pie soggy.
Q: How far in advance can I make this pie? A: For best results, make it the morning of the day you plan to serve it. The pie will keep for 2-3 days in the refrigerator, but the texture changes over time as the berries release their juices.
Q: Can I use a store-bought crust? A: Absolutely! While homemade is always better, a good quality store-bought crust that’s been properly blind-baked will work fine.
Q: Do I really need to blind bake the crust? A: Yes! Since the filling isn’t baked, you must fully bake the crust beforehand. Otherwise, you’ll end up with raw dough.
Q: Why did my glaze turn cloudy? A: This usually happens if you boil the mixture too vigorously or for too long. Gentle bubbling for just 3-5 minutes is sufficient.
Q: Can I omit the gelatin entirely? A: Yes, but you’ll need to increase the cornstarch to 4-5 tablespoons to ensure the glaze sets properly.
Q: How do I know when my pie is ready to serve? A: The pie needs at least 3 hours in the refrigerator to set properly. You’ll know it’s ready when the glaze feels firm (not liquid) when gently touched.
Q: My berries taste tart—should I add more sugar? A: You can increase the sugar in the glaze by up to ¼ cup, but I find that a slightly tart strawberry paired with sweet glaze and whipped cream creates the perfect balance.
Final Thoughts: Why This Recipe Works
After countless pies and many years of tweaking, I believe this recipe strikes the perfect balance between showcasing fresh strawberries and creating a cohesive dessert that doesn’t fall apart when sliced.
The combination of whole berries with a just-sweet-enough glaze allows the natural flavor to shine through, while the buttery crust provides the perfect contrast in texture and flavor.
When strawberries are at their peak, there’s simply no better way to showcase them than in this pie. It’s the taste of sunshine and summer, of backyard gatherings and celebrations.
So the next time you find yourself with a flat of beautiful, ripe strawberries, I hope you’ll think of this recipe. And as you take that first perfect bite—the crisp crust yielding to juicy berries—know that you’re partaking in a dessert tradition that spans generations.
Happy baking!