
Have you ever craved something decadently sweet and creamy but didn’t want to spend hours in the kitchen? I’ve been there too many times to count. That’s why I’m absolutely thrilled to share what has become my go-to dessert recipe when I need something impressive with minimal effort. This two-ingredient chocolate mousse has saved countless dinner parties and satisfied my most urgent chocolate cravings—and I promise it will do the same for you.
When I first discovered this recipe, I was skeptical. How could something with just two ingredients possibly rival the classic French mousse I’d spent years perfecting? But after one spoonful, I was converted. The texture is impossibly light yet rich, with that perfect melt-in-your-mouth quality that defines a great mousse.
The beauty of this recipe lies not just in its simplicity but in its versatility. Once you master the basic technique (which takes all of five minutes), you can customize it endless ways to suit any occasion or preference. I’ve served it at elegant dinner parties and casual family gatherings alike, and it never fails to impress.
What Makes This Mousse So Special?
- Simplicity: Just two ingredients and about 10 minutes of active preparation time
- Texture: Perfectly airy and light while remaining decadently rich
- Versatility: Endless possibilities for customization
- Reliability: Practically foolproof even for kitchen novices
- No raw eggs: Unlike traditional mousse recipes, no concerns about consuming raw eggs
The Magic Ingredients
Here’s what makes this recipe so revolutionary—it requires just:
- Chocolate (8 ounces/225g of high-quality chocolate, preferably 60-70% cocoa)
- Water (3/4 cup/180ml of water)
Yes, you read that correctly. Just chocolate and water. No cream, no eggs, no butter. The science behind this recipe is fascinating and was popularized by the renowned French chemist and chocolatier Hervé This, who discovered that when chocolate is melted with water and then whipped with air while cooling, it creates a stable emulsion with a perfect mousse consistency.
The Science Behind Water and Chocolate
When I first read about this technique, I was fascinated by the chemistry at work. Traditionally, chocolate and water are considered incompatible in cooking—anyone who’s accidentally gotten water in melting chocolate knows the frustrating seized mess that results.
But in this recipe, the proportion of water to chocolate and the technique of incorporating air through whipping creates a stable emulsion. The fat molecules in the chocolate are suspended in the water, and as the mixture cools and you whip it, air bubbles become trapped in the structure, creating that characteristic mousse texture.
It works because:
- The fat content in good chocolate creates stability
- The controlled melting ensures proper emulsification
- The whipping process incorporates air at just the right moment
- The cooling creates the perfect setting structure
The Step-by-Step Process
Let me walk you through exactly how I make this magical dessert:
- Choose your chocolate wisely: This is crucial since it’s providing all the flavor. I recommend a high-quality dark chocolate with 60-70% cocoa content. My personal favorites include Valrhona, Ghirardelli, or Lindt Excellence.
- Chop the chocolate: Cut 8 ounces (225g) of chocolate into small, uniform pieces to ensure even melting.
- Prepare an ice bath: Fill a large bowl about halfway with ice and some water. Place a medium metal mixing bowl on top, making sure the bottom doesn’t touch the ice water. This will be for cooling your mixture later.
- Melt the chocolate with water: In a saucepan, bring 3/4 cup (180ml) of water just to a simmer. Remove from heat, add the chopped chocolate, and let it sit for 30 seconds. Then gently stir until the chocolate is completely melted and the mixture is smooth.
- Transfer and cool: Pour the chocolate mixture into your metal bowl that’s sitting on the ice bath.
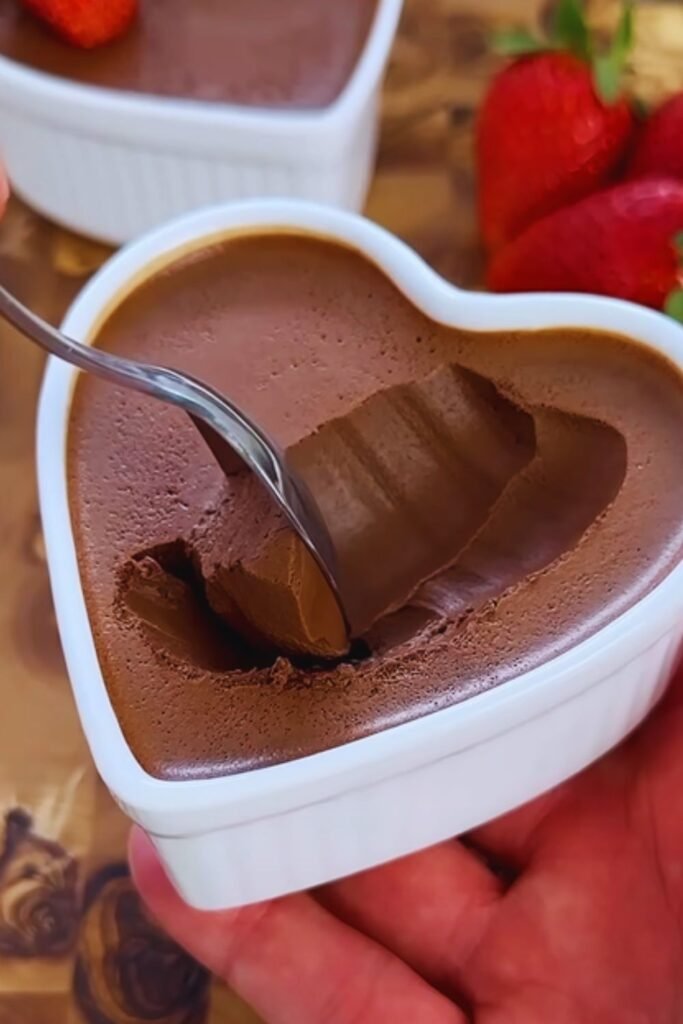
- Whip to perfection: Using a hand mixer or a whisk if you’re feeling ambitious (and want a good arm workout!), whip the mixture continuously. Within about 3-5 minutes, you’ll see it transform before your eyes from a thin, liquid consistency to a thick, creamy mousse that holds soft peaks.
- Stop at the right moment: This is the trickiest part—you want to stop whipping just as the mousse reaches the perfect consistency, before it becomes grainy or too stiff. When you lift your whisk or beaters, the mixture should form soft, droopy peaks.
- Portion and chill: Quickly spoon the mousse into serving dishes before it sets too firmly. Refrigerate for at least 1 hour to set completely.
Troubleshooting Tips
Even though this recipe is incredibly simple, there are a few places where things can go wrong. Here’s how I’ve learned to avoid the most common issues:
If your mousse is too runny:
- The mixture may not have cooled enough during whipping
- Continue whipping while it cools further
- Make sure your ice bath is sufficiently cold
If your mousse becomes grainy:
- You’ve likely whipped too long or the mixture cooled too quickly
- Gently rewarm over a double boiler to melt slightly, then try again
If your chocolate seizes during melting:
- Make sure no additional water splashes into the mixture
- Use a gentle heat and don’t overheat the chocolate
- Ensure all equipment is completely dry
Elevating Your Basic Mousse
While the two-ingredient version is genuinely amazing on its own, I love to dress it up depending on the occasion. Here are some of my favorite variations:
Flavor Infusions (Add to the water before melting)
- 1 teaspoon espresso powder for mocha mousse
- 1/2 teaspoon peppermint extract for mint chocolate
- 1 teaspoon orange zest for chocolate orange
- 1 tablespoon liqueur (Grand Marnier, Kahlúa, Baileys, etc.)
Toppings and Layers
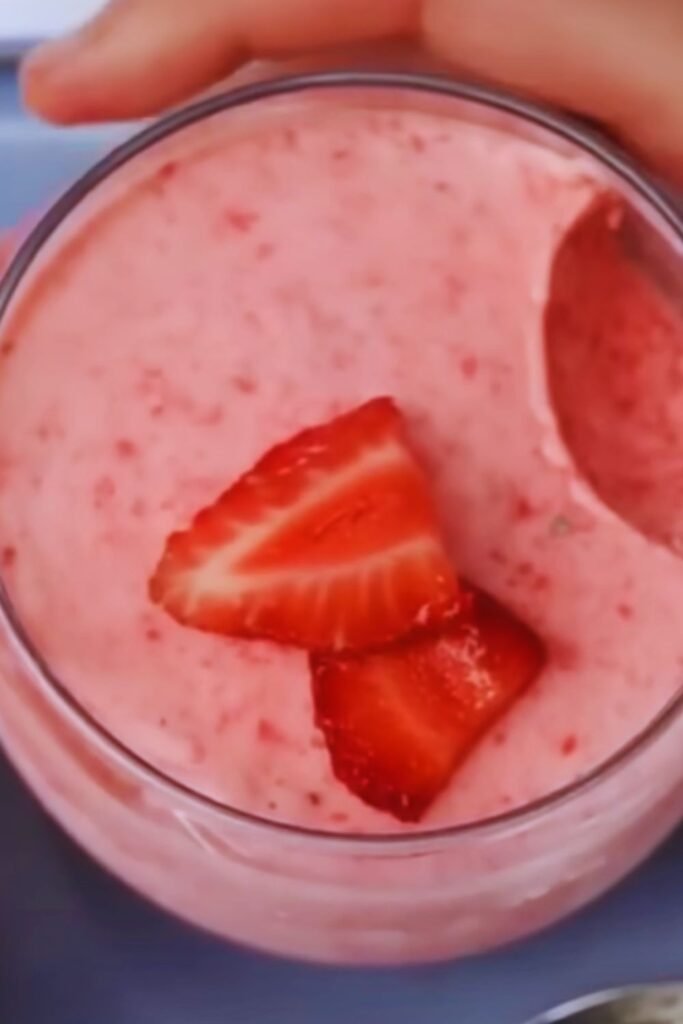
- Fresh berries (raspberries are particularly divine)
- Lightly sweetened whipped cream
- Crushed cookies or biscuits (try Oreos or speculoos)
- Toasted nuts (hazelnuts complement chocolate beautifully)
- Caramel drizzle
- Sea salt flakes for a sweet-salty contrast
Serving Suggestions
I find that presentation can elevate this simple dessert to restaurant quality. Here’s how I like to serve it:
- In clear glasses to showcase the beautiful texture
- With a few strategically placed berries
- Dusted with cocoa powder or powdered sugar
- With a small cookie perched on the side
- Garnished with a sprig of fresh mint
For an impressive dinner party presentation, try layering the mousse with complementary elements:
- A thin layer of fruit coulis at the bottom of the glass
- The chocolate mousse as the main layer
- A dollop of lightly sweetened whipped cream
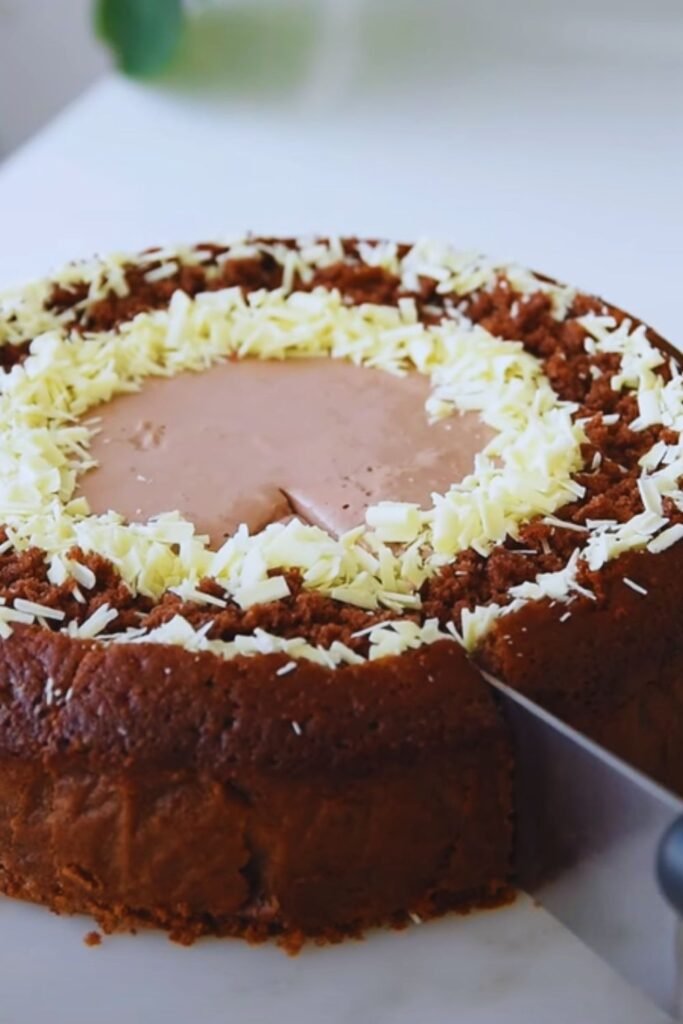
- A sprinkle of chocolate shavings or cocoa nibs on top
Nutritional Benefits of Dark Chocolate
While this is definitely a dessert, I like to remind myself (and my guests) that dark chocolate does have some nutritional merits:
| Nutrient | Benefit |
|---|---|
| Antioxidants | Dark chocolate is rich in flavonoids that help combat oxidative stress |
| Minerals | Contains iron, magnesium, copper, and manganese |
| Mood enhancers | Contains compounds that may boost serotonin levels |
| Heart health | Some studies suggest moderate dark chocolate consumption may support cardiovascular health |
| Blood flow | Flavanols in dark chocolate may improve blood flow to the brain and heart |
Make-Ahead and Storage Tips
One of the things I love most about this mousse is how well it works for advance preparation:
- Make-ahead: Can be prepared up to 24 hours in advance
- Storage: Keeps well in the refrigerator for up to 3 days
- Freezing: Can be frozen for up to 1 month (though the texture may be slightly altered upon thawing)
For optimal texture when serving:
- Remove from refrigerator about 10-15 minutes before serving to soften slightly
- If frozen, thaw overnight in the refrigerator
Dietary Adaptations
Another beautiful aspect of this simple recipe is how easily it adapts to various dietary needs:
For vegans:
- Use high-quality vegan dark chocolate (most dark chocolate above 70% is naturally vegan, but always check ingredients)
For those avoiding sugar:
- Use stevia-sweetened or other sugar-free dark chocolate
For keto dieters:
- Choose a keto-friendly dark chocolate with no added sugar
For those with food allergies:
- Select chocolate that’s free from allergens (many premium brands offer allergen-free options)
When to Serve This Magical Mousse
I’ve found this dessert to be perfect for so many occasions:
- Romantic dinners: Its elegance and silky texture make it perfect for date night
- Dinner parties: Prepare in advance and impress guests with minimal effort
- Holiday gatherings: Dress it up with seasonal toppings
- Weeknight treats: When you need something special but have limited time
- Emergency desserts: When unexpected guests arrive and you need to whip something up quickly
Environmental Bonus
I appreciate that this recipe is environmentally friendly compared to many desserts:
- Uses minimal ingredients (reducing food miles and packaging)
- Can be made with ethically sourced chocolate
- Creates minimal waste
- Requires little energy to prepare (no baking needed)
A Word on Chocolate Quality
I can’t stress enough how important good chocolate is for this recipe. Since it’s providing all the flavor, this is not the time to economize. Some tips for choosing:
- Look for chocolate with 60-70% cocoa content for optimal flavor and texture
- Check the ingredients list—fewer ingredients usually means higher quality
- Consider fair trade or direct trade chocolate for ethical sourcing
- Single-origin chocolates offer interesting flavor profiles to explore
Cost Analysis
Despite using premium chocolate, this dessert is surprisingly economical:
| Ingredient | Approximate Cost |
|---|---|
| 8oz quality dark chocolate | $4-8 |
| Water | Practically free |
| Total for 4 servings | $1-2 per serving |
Compare this to $8-12 per serving at a restaurant!
Health Considerations
While I’d never call this a health food, compared to many desserts, this mousse has some advantages:
- No added sugar beyond what’s in the chocolate
- No heavy cream or butter
- Lower in calories than traditional mousse recipes
- Can be portion-controlled easily
- Satisfies chocolate cravings with a small amount due to its richness
Questions and Answers
Q: Can I use milk chocolate instead of dark chocolate?
Dark chocolate works best for this recipe because of its higher cocoa butter content and lower sugar content. Milk chocolate can work, but the mousse may be softer and sweeter. If using milk chocolate, reduce the water slightly (try 1/2 cup instead of 3/4 cup).
Q: What if I don’t have an ice bath?
While an ice bath speeds up the process and gives you more control, you can place the bowl in the refrigerator for about 10-15 minutes until it begins to cool and thicken slightly at the edges, then begin whipping. It will take longer but will eventually reach the right consistency.
Q: Can I make this in advance for a party?
Absolutely! This mousse can be made up to 24 hours in advance. Store in individual serving dishes covered with plastic wrap in the refrigerator, and garnish just before serving.
Q: Why did my mousse become grainy?
If your mousse becomes grainy, you likely whipped it too long or at too cold a temperature. The fat crystals in the chocolate can seize up. Try gently rewarming the mixture over a double boiler just until it smooths out, then cool and whip again with a gentler touch.
Q: Is this recipe really foolproof?
While it’s one of the simplest dessert recipes I know, the technique does require attention to temperature and timing. Your first batch might not be perfect, but even “failed” attempts usually taste delicious! With practice, you’ll get a feel for the exact moment to stop whipping.
Q: How do I know when to stop whipping?
Stop whipping when the mousse has thickened to the point where it forms soft peaks that gently fold over when you lift the whisk. The texture should be similar to whipped cream at the medium-peak stage. If it starts looking grainy or losing its glossy appearance, you’ve gone too far.
Q: Can I double or triple the recipe?
Yes, this recipe scales well. Just make sure your mixing bowl is large enough to accommodate the increased volume, especially during the whipping stage when air is incorporated and the mixture expands.
Final Thoughts
I’ve made a lot of desserts in my life—some simple, some elaborate—but few have given me the satisfaction-to-effort ratio of this two-ingredient chocolate mousse. There’s something almost magical about transforming two humble ingredients into something so luxurious.
What I appreciate most about this recipe is how it demonstrates that great cooking isn’t always about complexity or exotic ingredients. Sometimes the most impressive culinary feats come from understanding food science and applying simple techniques with precision.
Whether you’re a seasoned home cook or someone who rarely ventures beyond the microwave, this recipe is accessible and rewarding. The first time you watch that chocolate-water mixture transform into a billowy mousse, you’ll feel like you’ve discovered a culinary superpower.
So gather your chocolate, fill a bowl with ice, and prepare to amaze yourself and anyone lucky enough to share in your creation. This humble two-ingredient wonder might just become your new signature dessert.