There’s something magical about a perfectly baked cheesecake. As someone who has spent countless hours perfecting this classic dessert, I can tell you that creating the perfect cheesecake is both an art and a science. Today, I’m sharing my tried-and-tested recipe for a classic New York-style cheesecake that will rival any you’ve tasted in professional bakeries.
The Science Behind the Perfect Cheesecake
Before diving into the recipe, let’s understand what makes a cheesecake truly exceptional. The key lies in the chemical reactions between ingredients and precise temperature control. The proteins in cream cheese, eggs, and sour cream work together to create that signature smooth, dense texture we all love. When baked at the right temperature, these proteins coagulate perfectly, giving us that coveted silky-smooth texture.
Essential Equipment
Before we begin, ensure you have these tools ready:
- 9-inch springform pan
- Large roasting pan (for water bath)
- Heavy-duty aluminum foil
- Stand mixer or hand mixer
- Rubber spatula
- Fine mesh sieve
- Instant-read thermometer
Ingredients Breakdown
For the Crust
| Ingredient | Amount | Notes |
|---|---|---|
| Graham crackers | 2 cups (200g) | Finely crushed |
| Unsalted butter | 1/2 cup (113g) | Melted |
| Granulated sugar | 1/4 cup (50g) | |
| Salt | 1/4 teaspoon |
For the Filling
| Ingredient | Amount | Notes |
|---|---|---|
| Cream cheese | 32 oz (907g) | Room temperature |
| Granulated sugar | 1 1/4 cups (250g) | |
| Sour cream | 1 cup (240g) | Room temperature |
| Heavy cream | 1/4 cup (60ml) | Room temperature |
| Large eggs | 4 | Room temperature |
| Vanilla extract | 2 teaspoons | Pure |
| Salt | 1/4 teaspoon | |
| Cornstarch | 2 tablespoons |
The Recipe Process
Preparation (30 minutes)
- Position your oven rack in the lower third of the oven
- Preheat to 325°F (165°C)
- Wrap your springform pan with three layers of heavy-duty aluminum foil
- Bring all refrigerated ingredients to room temperature (crucial for smooth texture)
Creating the Perfect Crust (15 minutes)
- Pulse graham crackers in a food processor until finely ground
- Mix with melted butter, sugar, and salt until the mixture resembles wet sand
- Press firmly into the bottom and 1 inch up the sides of the pan
- Bake for 10 minutes, then cool completely
Making the Filling (25 minutes)
Here’s where precision becomes crucial:
- Beat cream cheese on medium-low speed until completely smooth (about 5 minutes)
- Gradually add sugar, beating until fully incorporated
- Add sour cream, heavy cream, and vanilla
- Beat in eggs one at a time on low speed
- Fold in cornstarch and salt
The Baking Process (1 hour 15 minutes)
This is where most cheesecakes succeed or fail. Follow these steps precisely:
- Pour filling into cooled crust
- Place in a roasting pan
- Fill pan with hot water halfway up the sides of the springform
- Bake at 325°F for 1 hour and 15 minutes
The Cooling Process (6+ hours)
Proper cooling is as important as proper baking:
- Turn off oven, crack door open 1 inch
- Leave cheesecake in oven for 1 hour
- Remove from water bath, cool on rack for 2 hours
- Refrigerate for at least 4 hours, preferably overnight
Troubleshooting Common Issues
| Problem | Cause | Solution |
|---|---|---|
| Cracked surface | Too-high temperature or overbeating | Use water bath, avoid overbeating eggs |
| Grainy texture | Cold ingredients | Ensure all ingredients are room temperature |
| Soggy crust | Water leakage | Use multiple layers of heavy-duty foil |
| Dense, heavy texture | Overbeating | Mix on low speed after adding eggs |
| Sunken center | Opening oven door | Resist checking until cooling time |
Serving Suggestions
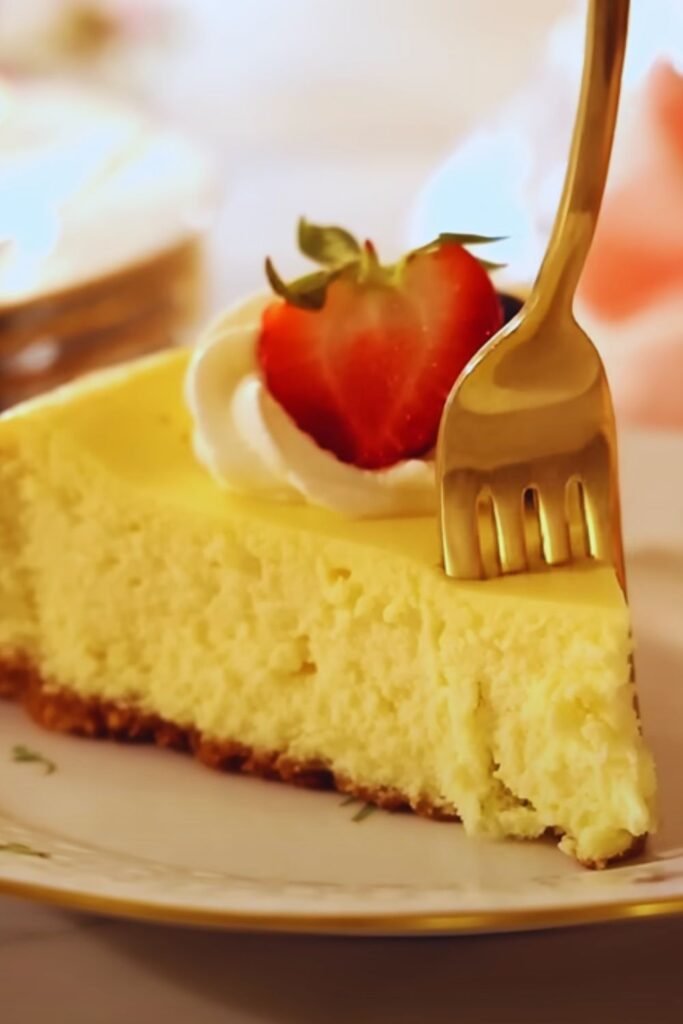
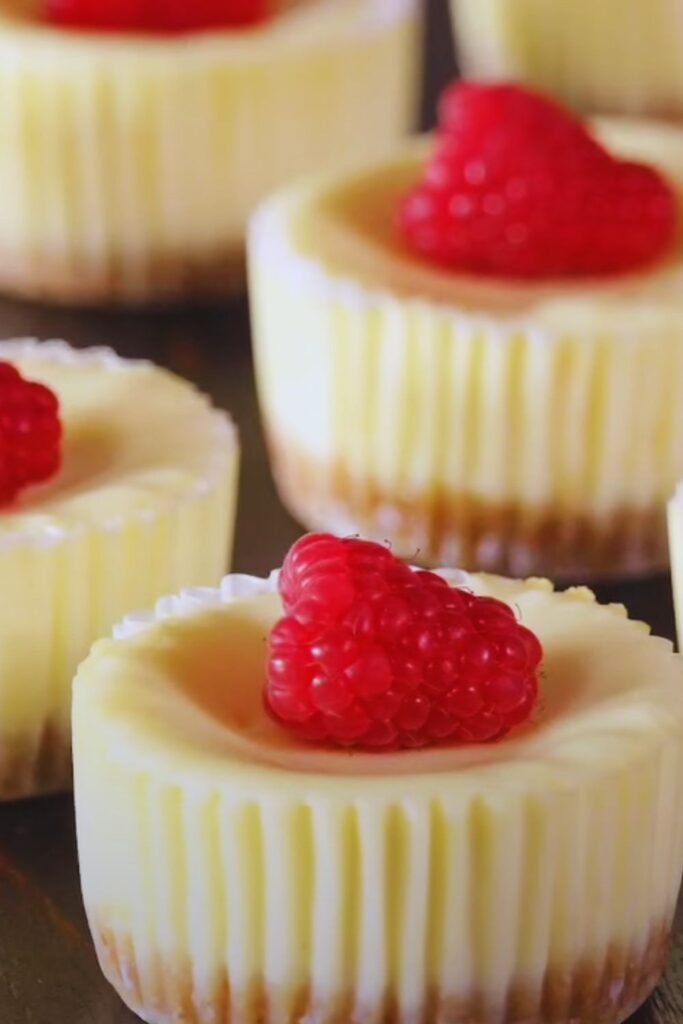
- Fresh berry compote
- Homemade caramel sauce
- Chocolate ganache
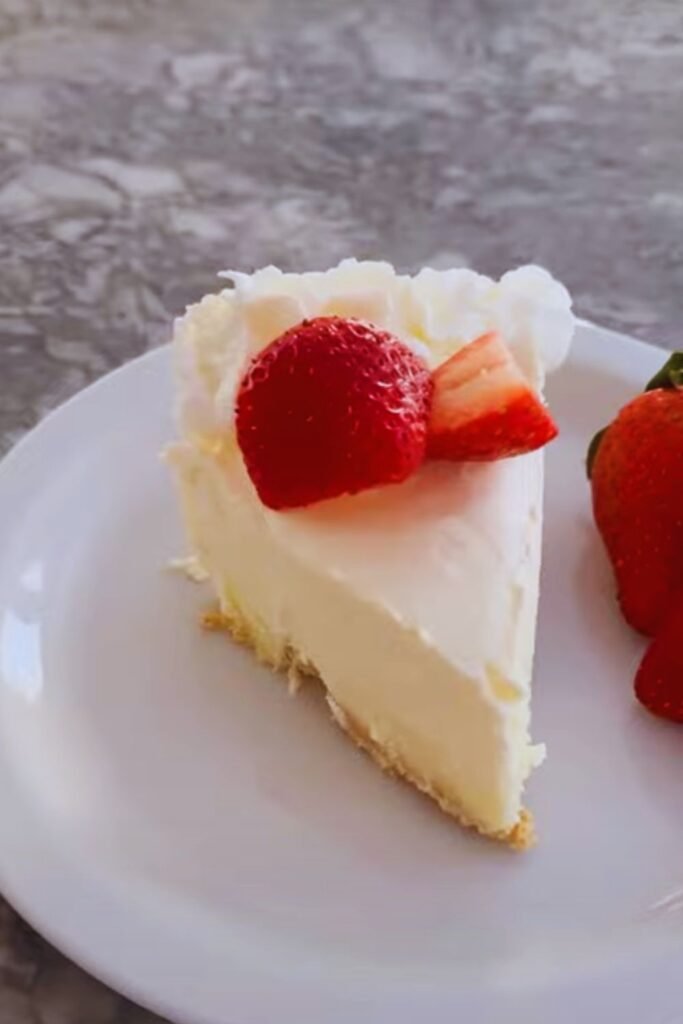
- Fresh whipped cream
- Lemon curd
- Fresh fruit slices
Storage Guidelines
| Storage Method | Temperature | Duration | Notes |
|---|---|---|---|
| Refrigerator | 35-40°F | Up to 5 days | Cover with plastic wrap |
| Freezer | 0°F | Up to 3 months | Wrap in foil and plastic |
Frequently Asked Questions
Q: Why did my cheesecake crack?
A: Cracks usually occur from overbeating (incorporating too much air) or baking at too high a temperature. Using a water bath and cooling slowly helps prevent this.
Q: Can I make this without a water bath?
A: While possible, a water bath provides insurance against cracking and helps achieve that perfectly smooth, creamy texture. I strongly recommend not skipping this step.
Q: How do I know when my cheesecake is done?
A: The edges should be slightly puffed and set, but the center should still have a slight wobble (like Jell-O). The internal temperature should reach 150°F.
Q: Why must ingredients be at room temperature?
A: Room temperature ingredients blend more smoothly and trap less air, resulting in a silkier texture and fewer cracks.
Q: Can I use low-fat cream cheese?
A: While possible, full-fat cream cheese provides the best texture and flavor. I recommend using full-fat ingredients for optimal results.
Health and Nutrition Information
| Nutrient | Amount per Slice | % Daily Value |
|---|---|---|
| Calories | 400 | – |
| Total Fat | 29g | 37% |
| Saturated Fat | 17g | 85% |
| Cholesterol | 115mg | 38% |
| Sodium | 300mg | 13% |
| Total Carbohydrate | 32g | 12% |
| Protein | 7g | 14% |
Based on a 2000 calorie diet. Serving size: 1/12 of cake
Recipe Variations
While this classic version is perfect as is, here are some tested variations:
- Citrus: Add 2 tablespoons of lemon or orange zest to the filling
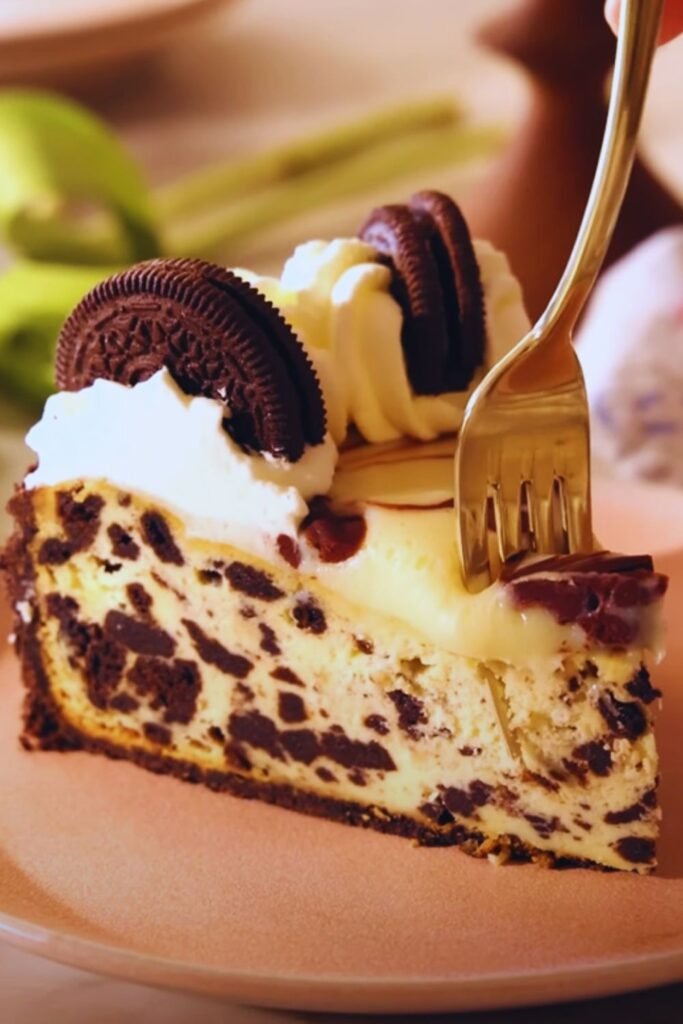
- Marble: Swirl in 1/4 cup melted dark chocolate before baking
- Coffee: Add 2 tablespoons espresso powder to the filling
- Vanilla bean: Replace extract with seeds from 1 vanilla pod
- Chocolate crust: Use chocolate graham crackers instead of plain
Remember, cheesecake making is a journey of patience and precision. With practice and attention to detail, you’ll master this classic dessert that has stood the test of time. The joy of serving a perfectly executed cheesecake makes all the effort worthwhile.